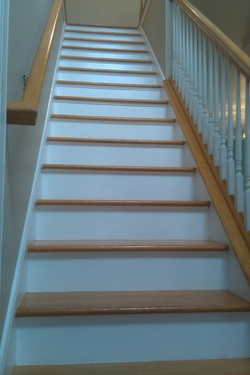
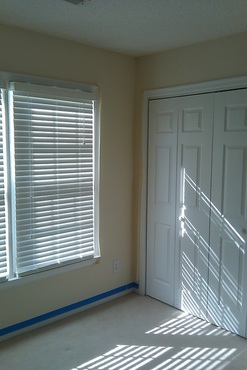
The next portion of this article will be geared toward the application process. We'll be going over the basics to prepare you to paint your home.
Installing a drop cloth is essential, unless you intend to replace your flooring. If that happens to be the case, have yourself a field-day. Otherwise, carefully cover the objects that you don't want paint on. More or less, that means everything. Afterwards, take the tape and plastic and cover any fixtures (make sure they are off). Once your home is protected from the mess you are about to make, remove any loose paint that is on the planned painting surface(s). You then take the mud and fill any holes on the walls. Now that the wall is filled and free from debris, sand the surface smooth to the touch. At this point you are safe to remove the outlet covers, and to clean the area thoroughly. Once you have a well prepared wall, go in and apply a bead of caulk to the corners if it is needed. Finally, you take the tape and secure it to any regions that are subject to transference. (That just means to get paint on places like the trim, that you want to keep the paint off of.) Our next capsule will be about the application process.
So, assuming you have gathered the suggested items and done your prep procedures, it is time for the fun part. The application of paint is an activity that a lot of people find therapeutic. It's a low impact exercise, that when coupled with the required repetitive motion, can really take your mind off of stressful matters. If you add the benefit of the worth of self worth gained from beautifying your home, this project can really lift your spirits.
Now that we are in a good state of mind for the detail to attention that it takes to do this well, let's begin painting. Depending on who you ask, you would either start cutting your first room in, or rolling it out. From my experience, the only time that this really matters is when you are using a glossy paint. The glossy paints are very finicky and will be saved for a different hub. For now, we will be focusing on primer, flat, and eggshell. Eggshell is somewhat glossy, but the paint performs and dries a lot like flat paint. So, you can begin either one, just do each task until it is done. One room at a time. For the sake of this hub, we'll start with brushing. Here are a few ideas
- Make sure that you use a good quality of brush. The cheaper models will save you a few dollars, but lag far behind when it comes to performance. They do not hold paint well, and lose their shapes too easily. This will cost you a lot of time and energy in the long run. I highly suggest that you spend the extra money when it comes to your brushes. And that is coming form one of the most frugal men on earth.
- Use a cut bucket that will allow you to hold 1 to 2 inches of paint in the bottom of the container. This will prevent you from getting paint all over the handle, thus preventing you from getting it everywhere else.
- Once you have the cut bucket and brush ready, dip the brush in the paint. Put it in and swirl the paint a little. This will allow your brush to soak up some paint, and condition itself for the job it's about to do.
- Now that your brush is ready, you can place it on your project space. The first motion is vital, in that you want to be able to paint the intended area, with having the paint run every where. Lay off the excess on the brush near the edge of your wall, but leave about 2-3 inches of dry area between you and the edge.
- Once the wall is wet, take the edge flat of your brush, hold it at a slight angle and drag the paint from the initial stroke up/down/sideways to the corner. If done properly, there will be paint on the very tip of your brush, but not so much as to hit the opposing wall/ceiling/trim.
- Repeat the motion until all of the paint is evenly distributed, and then wet the brush again with a dip of paint. Easy enough, right?


 RSS Feed
